
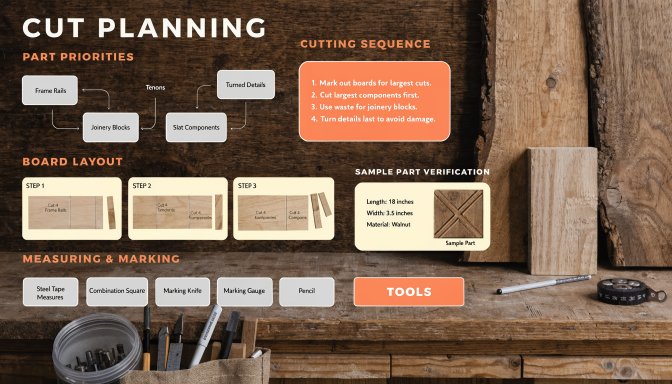
Cut planning is where the project starts turning from an idea into a real workflow. It decides which parts come first, which stock gets reserved, how repeated parts stay consistent, and how much flexibility remains if something needs to be adjusted later.
Quick answer: A smart woodworking cut plan starts with the part list, sorts those parts by importance and material, reserves the best stock for critical pieces, uses sample parts for verification, and sequences the cuts so mistakes stay small instead of multiplying.
The cut-planning sequence
Start with the controlling parts
These are the parts that affect everything else: matching legs, long rails, side panels, tabletops, or any piece that sets the overall structure.
Plan around real stock
Good cut planning matches the parts to the boards or panels you actually have, including usable width, length, grain, and defects.
Leave decisions open where needed
Some parts are better cut later, after a dry fit or after matching dimensions are confirmed in the actual build.
Cut-planning checklist
| Question | Why ask it first |
|---|---|
| Which parts control the rest of the build? | They deserve the best stock and the most careful setup. |
| Which parts must match exactly? | They should be cut from one setup or one sample reference. |
| Which parts can wait? | Delaying them can preserve flexibility and reduce waste. |
| What defects or grain issues matter most? | They affect both yield and final appearance. |
Bottom line
A cut plan gives the build direction. Without it, the project becomes a series of disconnected cuts. With it, the whole process gets cleaner, safer, and more efficient.