
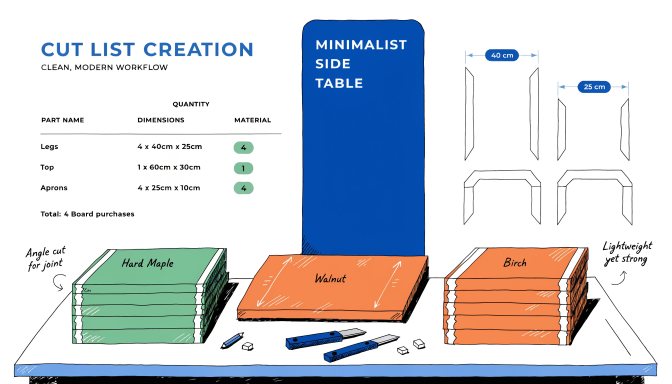
A cut list is one of the simplest planning tools in woodworking, but it does a lot of heavy lifting. It turns a drawing into actual parts, helps you estimate material accurately, and reduces the confusion that happens when several similar pieces start piling up on the bench.
Quick answer: To make a woodworking cut list, identify every project part, give each part a clear name, list the quantity, finished thickness, width, and length, note the material type, and add any important comments about matching parts, grain direction, or later joinery.
What to include in every cut list
- Part name
- Quantity
- Finished thickness
- Finished width
- Finished length
- Material type
- Notes for matching sets, orientation, or joinery
Why finished size matters
Cut lists work best when they describe the part you need, not the rough stock you hope to get there from. The clearer the finished target, the easier it becomes to check whether your materials and sequence make sense.
Cut-list example table
| Part | Qty | Size | Material |
|---|---|---|---|
| Side panel | 2 | 3/4 x 12 x 28 | Plywood |
| Top rail | 2 | 3/4 x 3 x 18 | Hardwood |
| Shelf | 1 | 3/4 x 11 x 18 | Plywood |
| Leg | 4 | 1 1/2 x 1 1/2 x 30 | Hardwood |
Bottom line
A clear cut list saves time twice: once before you buy materials and again when you start cutting. It is one of the most practical ways to turn a plan into a calmer build.