
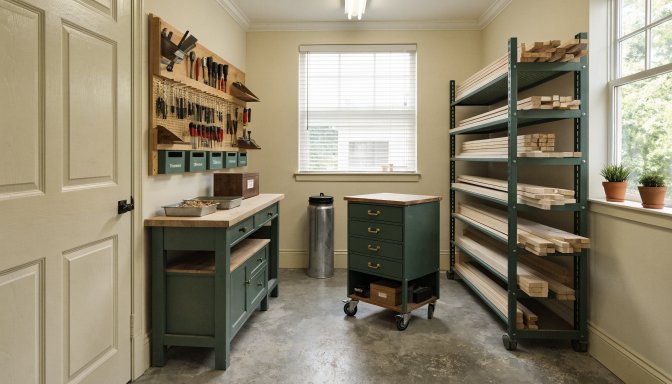
A small woodshop gets frustrating when every tool, board, and half-finished part competes for the same surface. Good organization is not about making the space look perfect. It is about protecting your workflow so you can measure, cut, stage, and assemble without constant resetting.
Quick answer: To organize a small woodshop, create simple zones for storage, cutting, assembly, and hardware, keep one work surface clear, store tools near where they are used, and stage only the materials needed for the current step. The goal is smoother movement, not more stuff.
Start with the biggest friction points
- The main bench becomes permanent storage
- Raw lumber blocks the same space needed for assembly
- Small tools and hardware disappear into mixed drawers
- Current-project parts get mixed with leftover scraps
A practical small-shop layout system
Keep one primary bench clear
Your bench should be the place where work happens, not the place where clutter waits. If a tool does not belong to the current step, move it out of the active zone.
Create vertical storage first
Wall space often solves more problems than floor storage in a compact shop. Shelves, peg systems, and shallow cabinets help free up movement space.
Use labeled project staging
A simple tray, cart, or shelf for current parts prevents mix-ups and makes it easier to stop and restart a project later.
| Organization area | What to prioritize |
|---|---|
| Workbench | Only current tools and parts |
| Wall storage | Frequently used hand tools and clamps |
| Lumber area | Vertical or edge storage with easy access |
| Project staging | Labeled bins, trays, or a rolling cart |
Bottom line
The best small woodshop organization system is the one that reduces movement, confusion, and reset time. When the shop supports the build sequence, even a compact setup feels far more capable.