
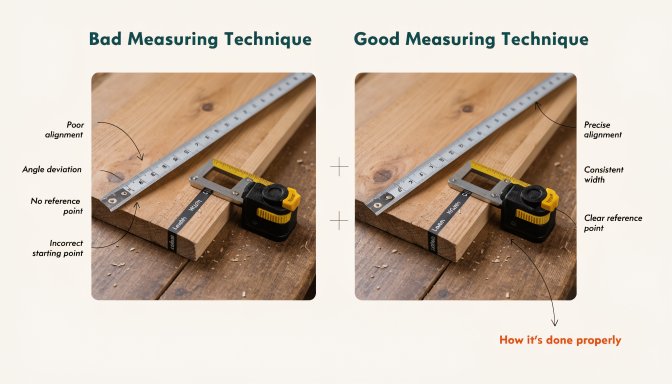
Measurement mistakes are small enough to feel harmless and powerful enough to ruin a project. They often start with rushed layout, unclear marks, or repeated measuring instead of using a smarter reference system.
Quick answer: The most common woodworking measurement mistakes are using thick pencil marks, measuring every repeated part separately, switching reference edges, and ignoring actual material thickness. Better layout habits improve project quality faster than most tool upgrades.
Where measuring goes wrong
Marks are too vague
A thick pencil line leaves room for guessing. If you do not know which side of the line to cut, the layout is already weak.
Repeated parts are measured one by one
Even tiny inconsistencies add up. Matching parts should usually be cut from one reference or a stop system, not remeasured every time.
Thickness is assumed, not verified
Nominal sizes and actual sizes are not the same. If the plan assumes one thing and the board measures another, joinery and final dimensions can drift.
Better measurement habits
- Use a fine pencil or marking knife when appropriate
- Mark the waste side clearly
- Use one reference face and edge for each part set
- Measure once, then use stops for repeats
- Check actual board thickness before cutting joinery or final widths
Bottom line
Measurement mistakes are preventable when your layout system is clear. Cleaner marks, consistent references, and smarter repeat-cut methods solve more problems than trying to measure faster.