
Planning a woodworking project well makes everything after it easier. It helps you buy the right amount of wood, cut parts in a smarter order, avoid missing steps, and keep the build realistic for your tools and workspace. When planning is weak, the project becomes harder at every stage. When planning is strong, even a modest shop can build with confidence.
Quick answer: To plan a woodworking project, start by understanding the full design, then translate it into a parts list, cut list, materials plan, and build order. After that, verify the project against your tools, space, and time so the build works in your real shop, not just on paper.
Step 1: Understand the project fully
Read the entire drawing set or plan first. Identify the overall size, the key parts, the joints, the hardware, and anything that depends on material thickness or assembly order.
Step 2: Choose the right material strategy
Decide what type of stock the project needs and how much waste allowance makes sense. If the project uses sheet goods, think in panels and yield. If it uses boards, think in lengths, defects, and grain.
Step 3: Make the cut list and materials list
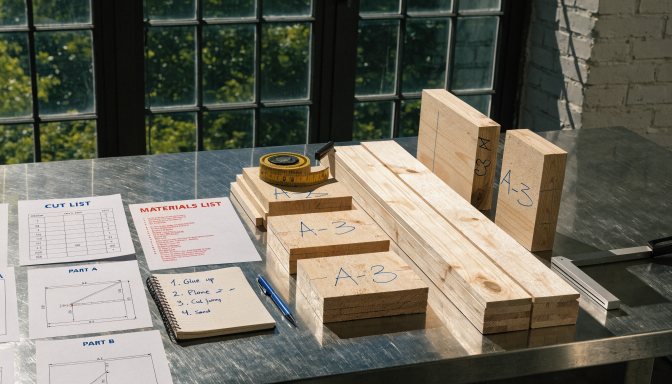
These two lists work together. The materials list guides buying. The cut list guides building. Both should be finished before real cutting begins.
Step 4: Build the sequence
Know what parts must match, what pieces should be cut later, what can be pre-sanded, and what needs a dry fit before fasteners or glue.
Step 5: Check the project against your shop
| Question | Why it matters |
|---|---|
| Do my tools support these cuts? | Prevents mid-build surprises and improvised workarounds. |
| Can my shop handle these part sizes? | Keeps the workflow realistic in a small space. |
| Do I have room to stage materials and assemble? | Protects accuracy and reduces chaos. |
| Can this project fit my available time? | Helps prevent rushed decisions late in the build. |
Simple planning checklist
- Read the whole plan
- List every part
- Confirm actual stock sizes
- Map material usage
- Sequence the build
- Check the project against your shop
- Test one part before batch cutting
Bottom line
Planning is not extra work around the build. It is part of the build. The more clearly you turn the project into a system before you start, the easier it becomes to build smarter, waste less, and finish with fewer surprises.