
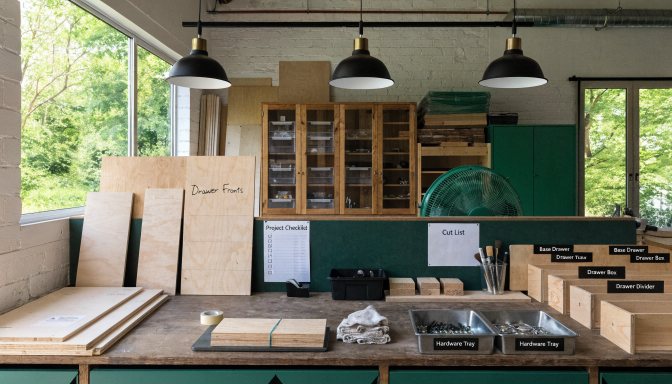
Organizing a woodworking project is really about reducing friction. The goal is not to create a perfect system. It is to make sure you can find the right part, understand the next step, and keep the project moving without constantly rethinking what should happen next.
Quick answer: To organize a woodworking project, separate it into five working groups: plan notes, materials, cut parts, hardware, and staged assembly steps. Clear labels and simple zones save more time than most beginners expect.
The five zones of project organization
1. Plan zone
Keep your drawings, notes, and cut list together where you can reference them without moving material around.
2. Material zone
Store rough stock, panels, and offcuts where they are easy to sort and inspect before cutting.
3. Part zone
Once a piece is cut, label it. This becomes even more important when multiple parts look similar.
4. Hardware and fastener zone
Screws, hinges, brackets, and specialty hardware should be grouped before assembly begins.
5. Assembly zone
Reserve clear space for test fitting and glue-ups so the project does not have to compete with clutter.
Simple organization checklist
| What to organize | Best simple method |
|---|---|
| Parts | Label by name and orientation |
| Hardware | Use small trays or marked containers |
| Cut list | Keep one working copy with notes |
| Materials | Separate good stock, questionable stock, and offcuts |
Bottom line
Good project organization does not need to be complicated. It only needs to remove the kinds of confusion that slow the build down and make simple mistakes more likely.