
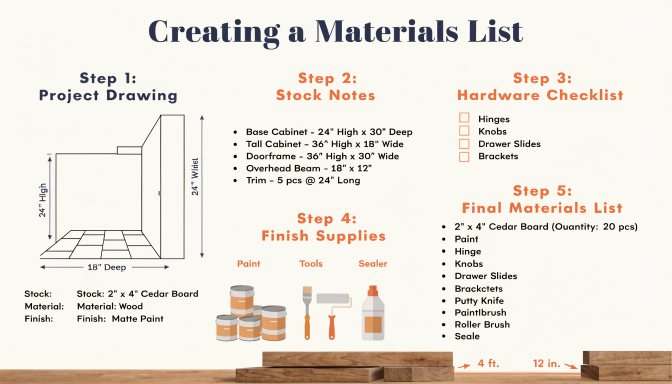
Creating a materials list is easier when you stop thinking about the project as one big thing and start grouping it into the stock, hardware, and supplies it actually needs. That shift makes buying more accurate and the build easier to organize in the shop.
Quick answer: To create a materials list for a wood project, review the full plan, group the project by stock type and thickness, separate hardware and fasteners, add required shop supplies, and include notes that explain what each material group supports in the build.
A simple way to build the list
Start from the parts
If you already have a cut list, use it to determine what lumber or sheet goods are required. The parts list gives the materials list its structure.
Add hardware and consumables
Do not stop at wood. Many projects stall because the screws, brackets, slides, hinges, glue, or sanding supplies were treated as an afterthought.
Use notes that explain purpose
A short note like “for shelves,” “door hardware,” or “top support” helps make the list more useful when shopping and staging.
Materials-list structure
| Section | What to include |
|---|---|
| Wood stock | Boards, sheet goods, thickness, quantity, and grade if relevant |
| Hardware | Hinges, handles, brackets, slides, anchors, or specialty parts |
| Fasteners | Screw sizes, nails, bolts, washers, or pocket-hole fasteners |
| Consumables | Glue, sandpaper, filler, finish supplies, painter’s tape |
Bottom line
A materials list gives the project a buying plan and a staging plan at the same time. When that list is clear, the shop feels more prepared before the build even begins.