
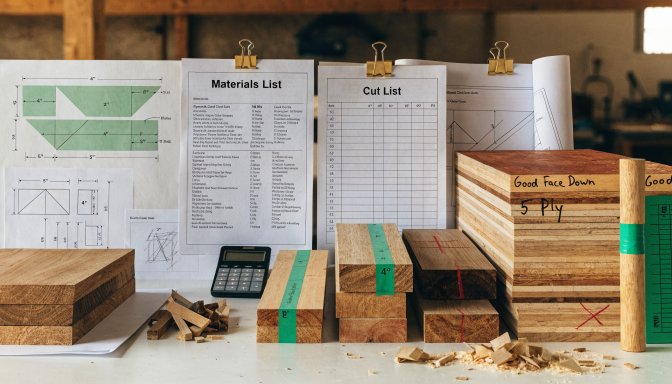
Material planning is where a lot of woodworking projects either get easier or get expensive. If the parts list is unclear, the stock sizes are guessed, or the waste allowance is ignored, even a simple build can turn into extra trips, bad substitutions, or a pile of offcuts that should have been prevented.
Quick answer: To plan materials for a woodworking project, start by listing every part, group those parts by material type and thickness, estimate usable board or sheet yield, account for defects and waste, and confirm that your material strategy matches the actual way you plan to cut the project.
Start with the project parts
Before thinking about boards or plywood sheets, list every part in the project. A good materials plan grows out of the parts list. If the parts are unclear, the lumber estimate will stay vague too.
Group parts by material and thickness
This keeps the buying process cleaner. It also helps reveal where a design depends on matching thickness or where one material can cover several parts more efficiently.
Think in usable stock, not perfect stock
Boards may contain knots, twist, checks, or rough ends that reduce what you can actually use. Material planning gets more accurate when you plan for usable length and width, not the label only.
Simple material-planning table
| Planning step | Why it matters |
|---|---|
| List every part first | Prevents forgotten pieces and rough buying estimates. |
| Group by thickness and material type | Makes buying and layout more efficient. |
| Allow for defects and waste | Keeps the estimate realistic in the real world. |
| Match material plan to cut sequence | Prevents buying stock that looks right but cuts poorly for the project. |
Bottom line
A good material plan reduces both cost and confusion. Once the project parts are clear and the stock is grouped realistically, the whole build becomes easier to manage from the store to the bench.