
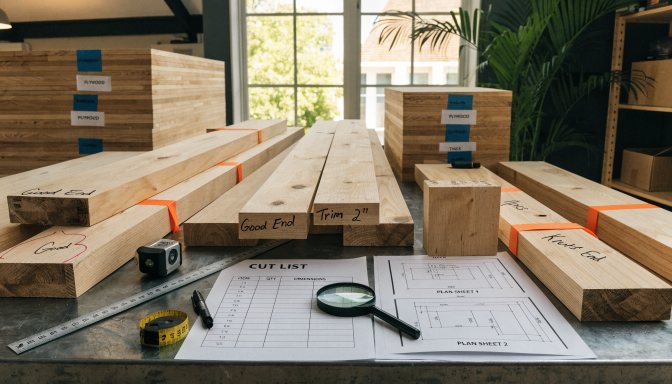
The moment before cutting is one of the most important checkpoints in woodworking. Once the saw starts, mistakes become harder to undo. That is why a short pre-cut checklist can save more money and frustration than a long list of later fixes.
Quick answer: Before cutting, confirm that the plan is fully understood, the cut list is complete, the materials are checked for actual size and defects, the parts are prioritized in the right order, and one sample cut can be verified before any batch cutting starts.
The pre-cut checklist
- Review the full plan and notes one more time.
- Confirm every part is on the cut list.
- Measure actual stock thickness and usable board length.
- Mark defects and avoid them in the layout.
- Sequence the cuts so long or critical parts come first.
- Identify matching parts that should be made from one setup.
- Cut one sample part and verify it before repeating.
Why this checklist works
It catches the errors that multiply. Missing one part on paper is easy to fix. Missing it after the material is already cut into smaller sections can force a second lumber trip or a full rethink of the layout.
Common last-minute misses
| Miss | Result |
|---|---|
| Ignoring actual material thickness | Joinery and final sizes stop matching the plan |
| Cutting short parts first | Long critical parts lose their best stock options |
| Not marking defects | Visible flaws end up in the worst places |
| Skipping the sample cut | One mistake becomes many repeated mistakes |
Bottom line
A pre-cut checklist is one of the simplest ways to build smarter. It turns the first cut from a guess into a confirmed step, and that changes the whole direction of the project.